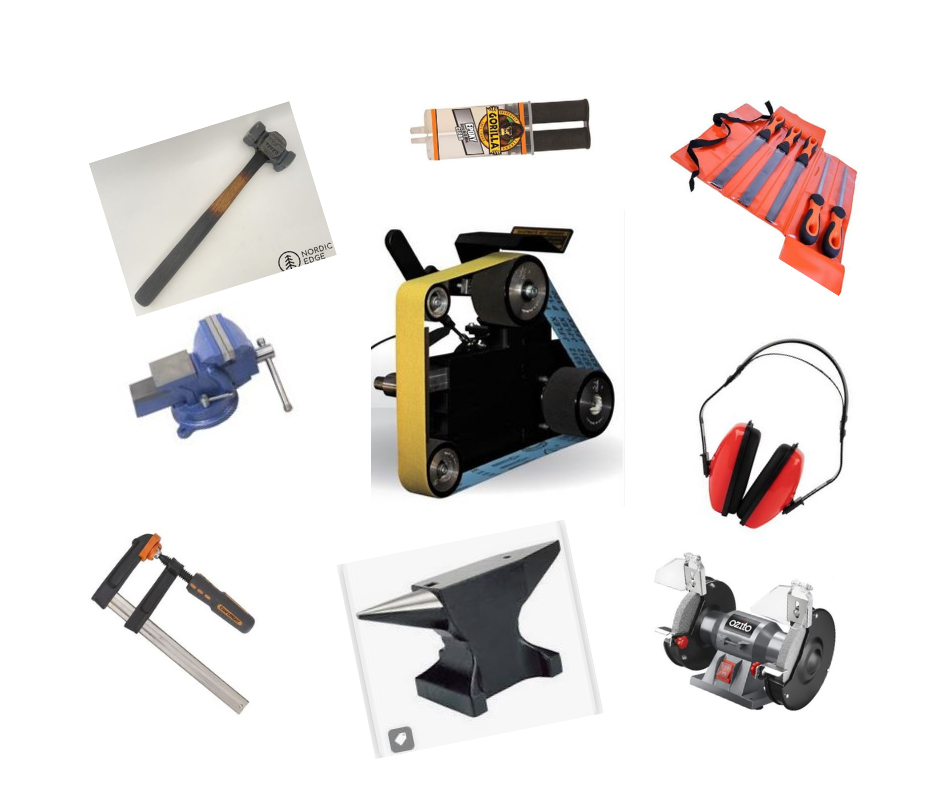
Here is a list of What I’m currently using.
- Belt Grinder
- Angle Grinder/Band Saw
- Files
- Clamps
- Vice
- Sandpaper
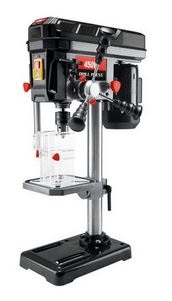
- Drill Press
- Anvil
- Forge
- Small Toaster Oven
- Hammers
- PPE
- Measuring Tools
- Glues
- Bench Grinder/Buffing Wheel
- Woodworking Tools
- Sharpening Tools
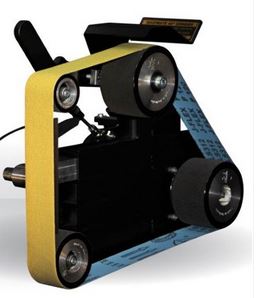
Shop Mate Variable Speed.
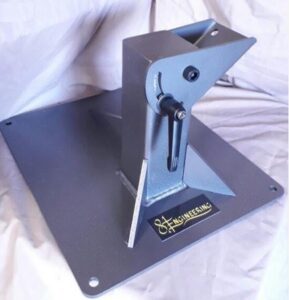
Tip. If you can afford it make sure you get this side tip accessory, they are amazing!
Angle Grinder.
What you need this for is cutting out the blade blanks from a larger piece of steel. What you do is fix into a vice and start slicing away to the template lines. It works but it’s noisy, dusty and somewhat dangerous.
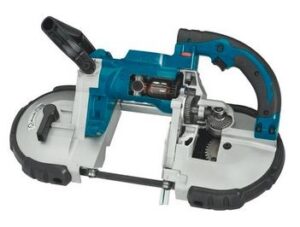
I prefer a band saw like this. I have mine mounted upright. It’s much more controllable, safer and less dusty. It costs more but is the preferred option if your wallet is fat enough.
Files.
Clamps.
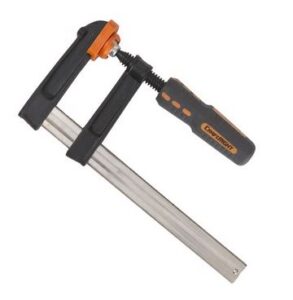
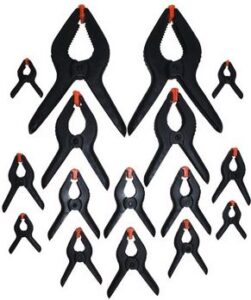
You will hear it said quite often but you’ll never have quite enough clamps. At least enough of the right size when you want it. I have a collection of std F-Clamps, G-Clamps and Spring Clamps of various sizes. It’s something you can start off with a cou[le of each and add to them as you go along. I find the budget range clamps are fine for what we need.
Forge.
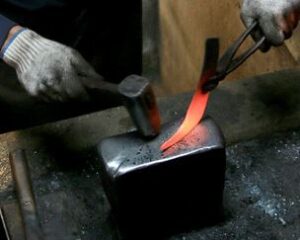
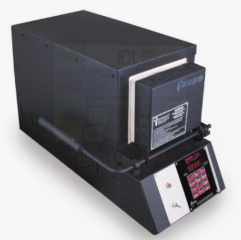
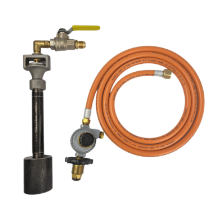
If you are heat treating your knives at home you must have a forge. There are a few examples of people using two propane torches, one on each side. You can only heat treat basic carbon steel like 1084 with this technique but thats all, and the results are a bit hit and miss. I’ve used a coal hearth, little tiny gas forges, large gas forges and my latest one is an electric kiln/forge I built myself. It’s much easier to control the temperature.
One of the most popular kilns is a Paragon Kiln at around AU$4500. You can see why people try making their own! Or you can buy a little gas kit AU$170 and drop it into a fire brick surround to create a gas forge. If all this seems like too much hard work or too expensive you can always send your roughed out blade blanks to a commercial heat treat service. Whatever you choose to do it is a very important area of knife-making that needs to be taken serious.
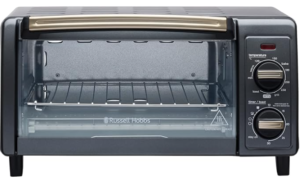
Small Toaster Oven.
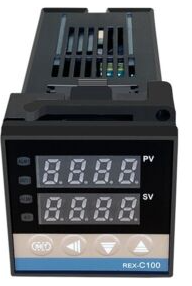
The reason you need this is to temper your blade after hardening back down to a managable hardness/toughness ratio. This process takes out the brittleness so it doesn’t chip or crack during use. I’ve found a small toaster oven like this seems to work fine. I modified one to include a Digital PID Temperature Controler. I have created a YouTube Vid on my channel on how to do this.
Another way to temper your blade is to place it in your home oven. Drop it in at the right temperature for the desired time and cycles and Bobs your uncle. You could use a propane torch to warm the spine back up the desired temperature. You would need to watch the colors travel from spine down to the cutting edge to achieve the hardness/toughness ratio. There is salt bath tempering, plate tempering and the list goes on. For this article you only need a cheap toaster oven.
Hammers.
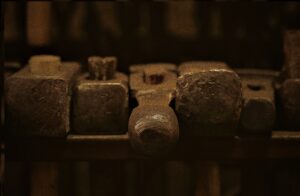
I use any hammer I have lying around. This collection here is from an old blacksmiths shop. You don’t need specialist hammers!
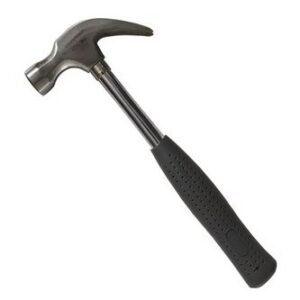
I even use one like this from Bunnings for $5.00 :0)
PPE.

So you need to get into a Zen like state to make them useful….Ha. Actually it’s a serious matter. You need hearing, facial, and body protection depending on what you are trying to do. I make sure I have ear muffs, goggles or a face shield of some sort, a respirator and either an apron or boiler suit.
Once I have my workshop up and running again I will be using one of these. It’s expensive Your Health is Super Important
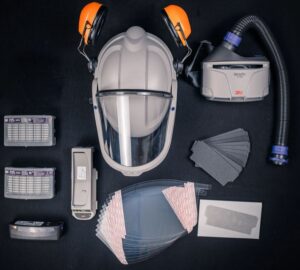
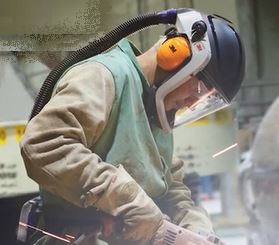
I know these as Versaflo Systems, 3M Make them.
Measuring Tools.
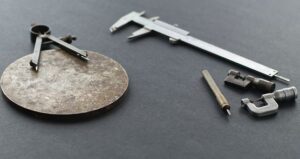
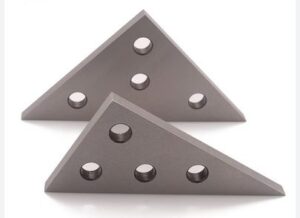
This shouldn’t be overlooked. A good set of calipers is a must to keep your work consistent across all aspects of your knife-making. You’ll measure the average thickness of your blades, depth of drill holes, diameter of drill holes….and the list goes on. There is also the need for a standard straight edge ruler and perhaps a set of square and 45 degree engineers plates like these. They are so useful.
Glues.
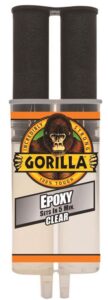
Glue is a consumable that you’ll change brands and types as you go along. In short I have always used an epoxy glue with a solution and a hardener. I have used special expensive glues and cheaper glues. In my view a two part epoxy from Bunnings, like this glue works perfectly fine.
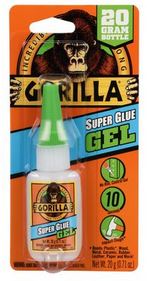
There is also a need for Superglue for temporary bonding 2 surfaces together like finishing the front edge of handle scales for example. I’ve even used it to bond a handle scale to a layer of tape on top of a steel plate for surface grinding. A few tubes of this is so useful. These happen to be the Gorilla Variety but any of them are fine.
Bench Grinder.
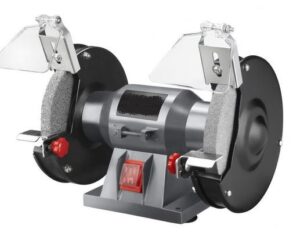
Arguably the most dangerous thing in the blade-smiths workshop. But it depends on what you are using it for and how you are using it. There are many tales of accidents both minor and major. I purposely use a low powered one for two reasons. The first is that if you happen to get wrong and the work-piece is dragged into the grinder or buffer, the chances are it will stop instead of grabbing and hurling it 1000mph at the wall or somewhere on your body or head. The second is it kind of stops you over buffing something. The bonus is they are also much cheaper to buy. I use this cheapy.
Woodworking Tools.
You don’t need many of these really. All you need them for is cutting wooden blocks for scales. Maybe an Axe if you want to really make a mess of things, ha, ha :0)
Sharpening Tools.
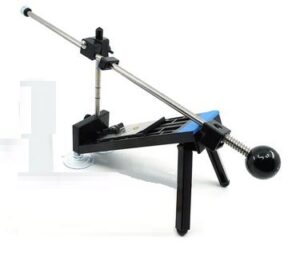
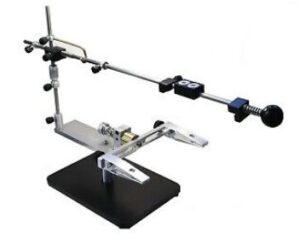
This a big subject all by itself. However, to keep it short you have to decide what kind of sharpening you intend to do. There are water wheels, paper wheels for the bench grinder, you can use the belt grinder and so it goes on. My recommendation is to get a fixed plane sharpener like this one. There plenty of choices on the market from terribly made cheap ones to very expensive engineered options. I use this one in the second image which was made in Ukraine. It’s a no brainer. Easy to use, repeatable results and not too expensive. Ideal for the beginner.
Conclusion.
I’m not sure there is any conclusion really except to say it is possible to make a knife with very basic tools. One of these days I’ll test this out and write an article on it. In the meantime the premise is to buy the best tools you possible can. Starting with the belt grinder, then the forge and work your way down.
Knife-making is a lot of fun and you end up with a functional, usable tool you can be proud of.
As always, happy camping :0)
