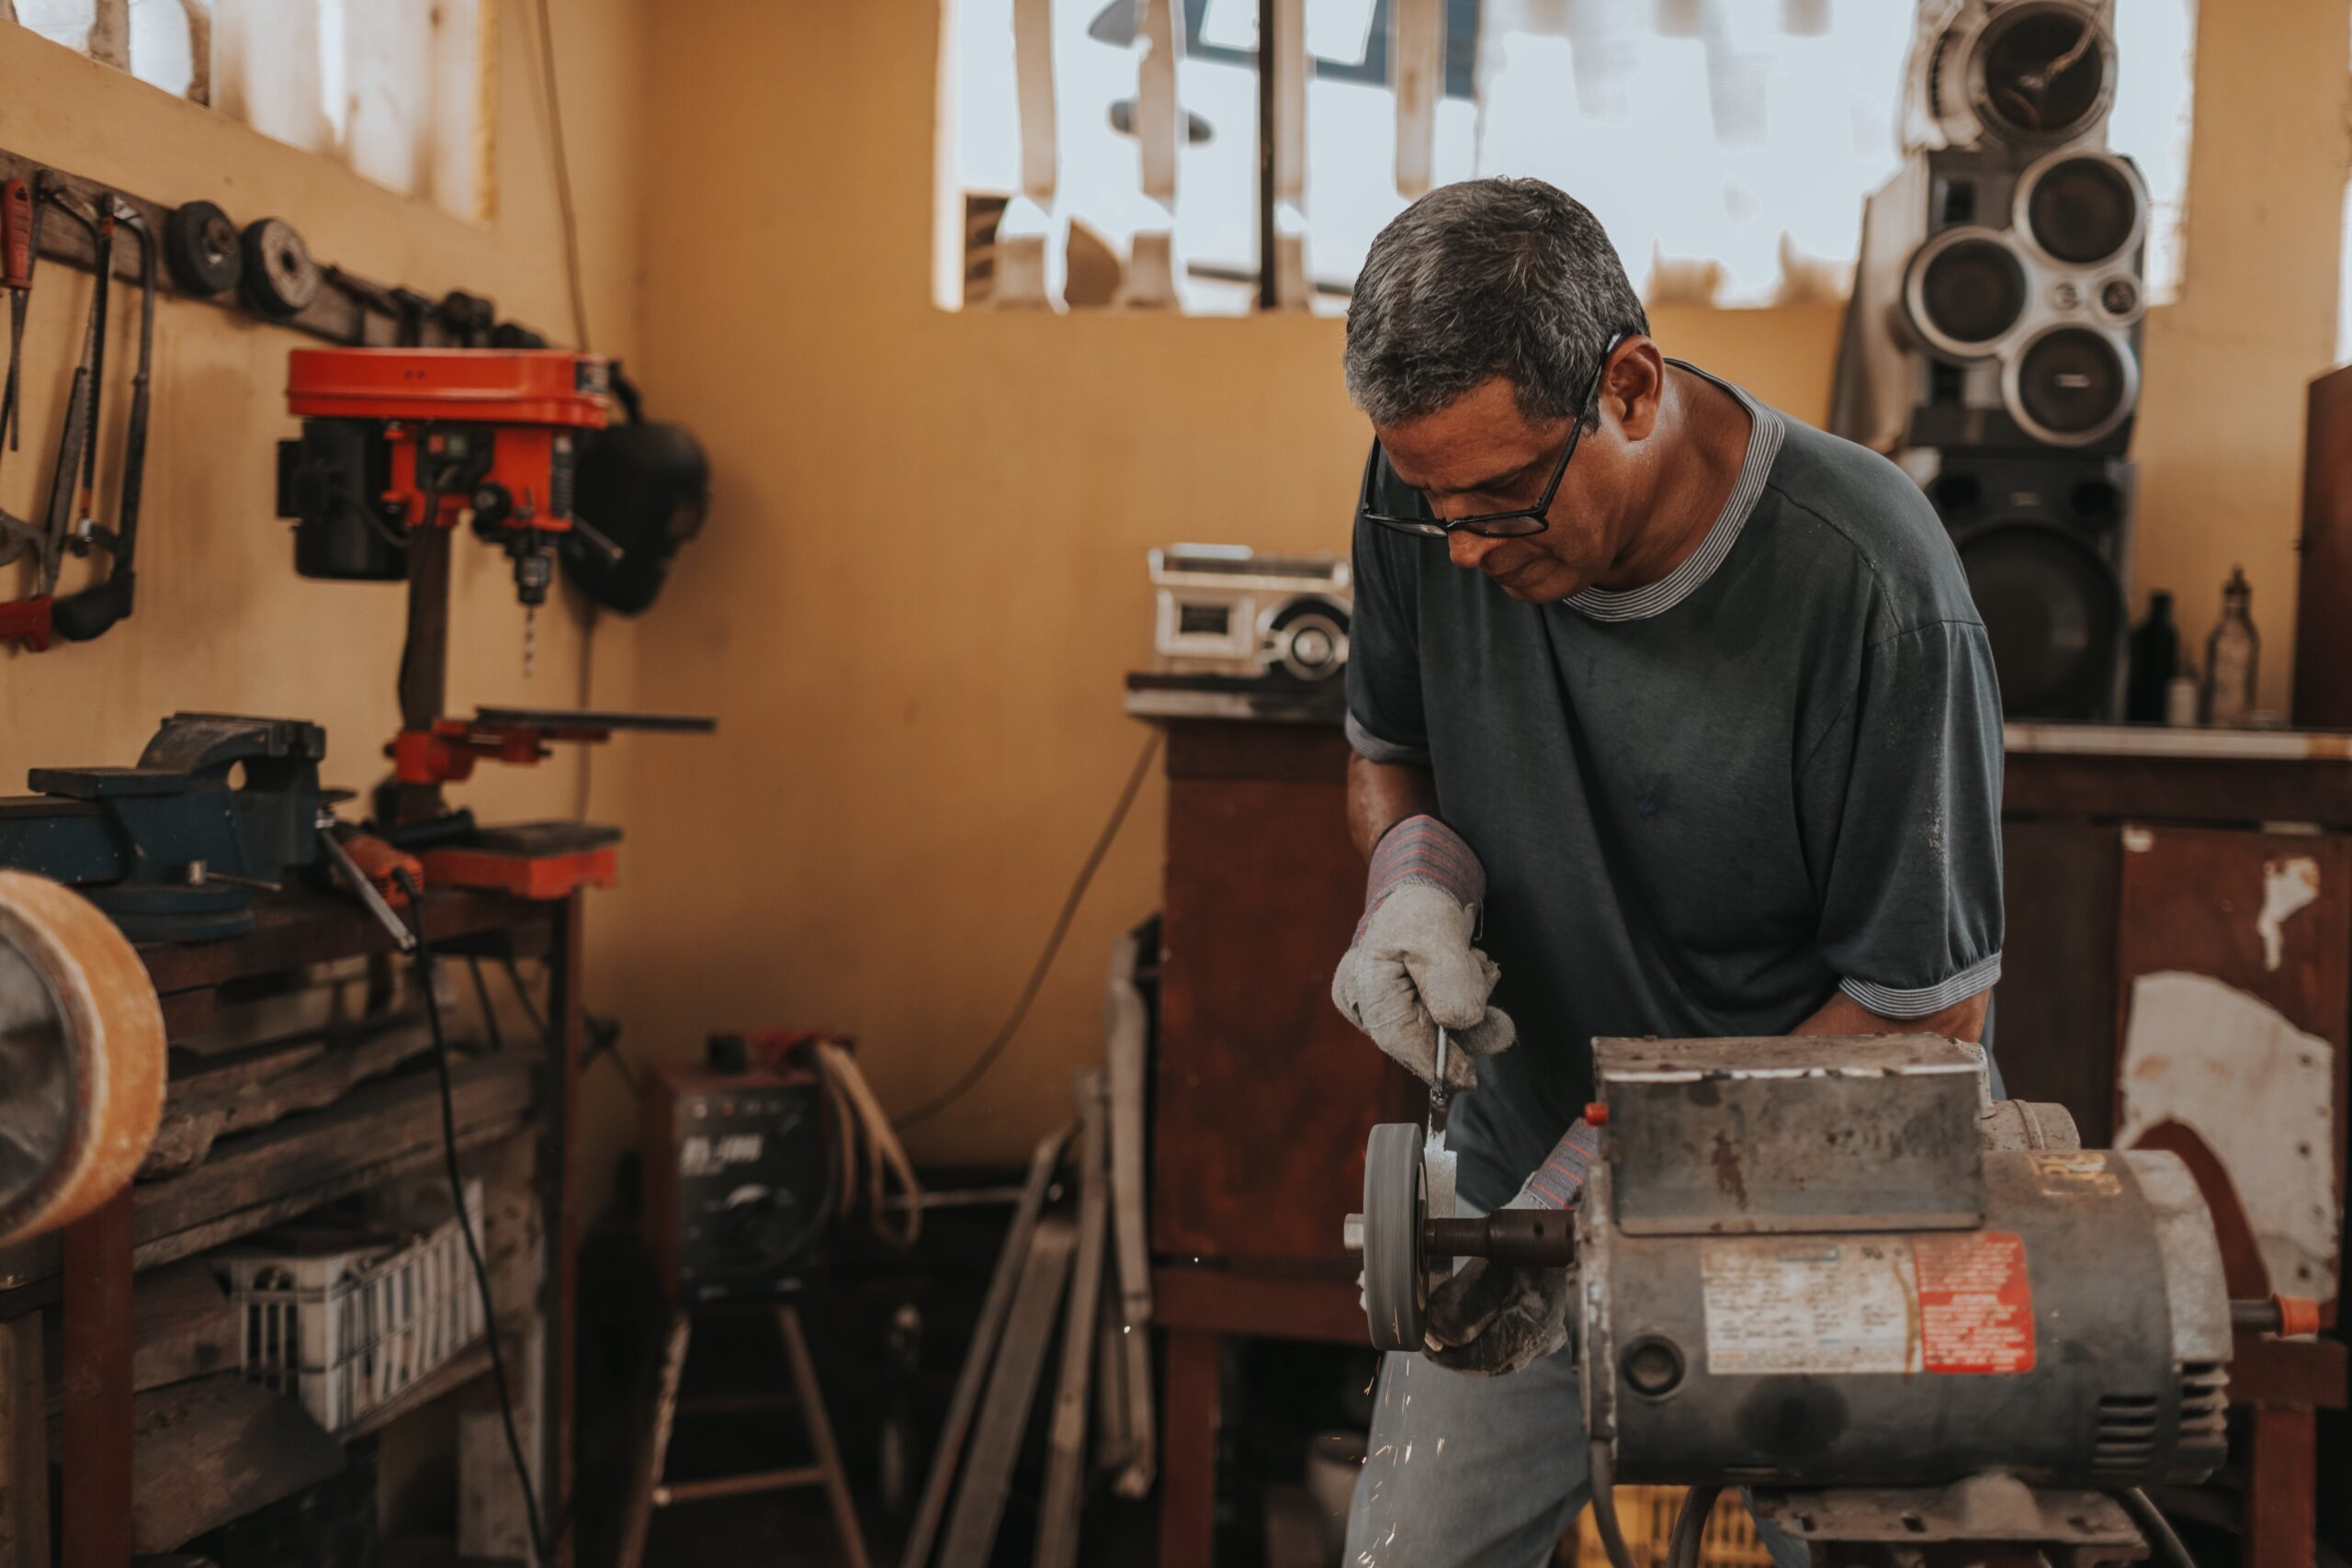
The Wonderful Art and Craft of Knife Manufacturing. From Raw Steel to Awesome Knives.
Intro.
Who really knows when the first steel knife was made, but we do know it was more than a couple of thousand years ago, it may have even been right at the time iron was produced somewhere between 3000 & 5000 BCE. Before that stone knives were made and definitely run into the tens of thousands of years, it is probably in the hundreds of thousands of years ago!
Fast forward to today and we have automation like this happening.

- Creating the Raw Steel in Automated Steel Plants.
This article explores the process taken to create a knife from raw steel to the finished piece. We go through the following points of creation:
- Choosing the right Kind of Steel
- Preparing the Steel
- Forging the Blade
- Shaping the Blade
- Rough Grinding the Bevels
- Heat Treatment
- Finishing the Bevels
- Choosing and Fitting the Handle Scales
- Finishing & Polishing
- Sharpening
Choosing the right Kind of Steel.
Just about all knife blade steel is manufactured by major steel manufacturing plants on a global scale. They range from basic high carbon steels to high end stainless steels. If you have read any of my other posts you’ll notice that the mention of what the knife will be used for has an influence on the type of steel the blade should be made from. These days, unless you are a newbie knife-maker there isn’t much point of choosing a knife made from a basic high carbon steel. This is for the simple reason that it will rust if it’s not looked after too well. The novice knife-maker will usually start with a simple high carbon steel because it can be heat treated in the home forge or even with a couple of map gas propane torches.
These steels have unique properties which affect their longevity. Edge retention, corrosion resistance, toughness etc.. As a rough guide, the use of the knife in relation to the type of steel might go something like this. Low use basic camping use a budget stainless steel will suffice, perhaps 13Cr17Mov for example. Medium use camping & bush-craft use might need a blade made from D2 OF 440C perhaps. Then up to a steel like M390 or VG-10 for a serious hiking/survival knife.
Preparing the steel (stock removal).
There are two main methods for shaping the blade, stock removal & forging. For stock removal we need to make sure the stock is flat and parallel. This makes grinding the bevels a lot easier, it’s important to keep them the same size. The way to make them flat and parallel is via a surface grinder, or if you are experienced enough you might be able to do it on the grinder itself, on the flat plate.
Forging the Blade.
Forging involves heating the steel to a high enough temperature so we can slowly start shaping it into the desired shape. Of course this method needs about of extra space and an Anvil. Once the steel has been roughly shaped to its final dimensions it still needs to be ground down to its final shape. After this, and depending on the finish you are after will depend if you need to flatten it on the surface grinder or not. I’m not really a fan of it but it’s become ‘fashionable to leave part of the face of the blade with hammer marks and color from the heat treating process.
Shaping the Blade.
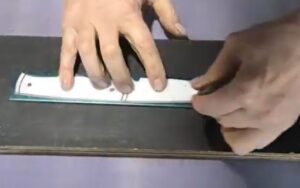
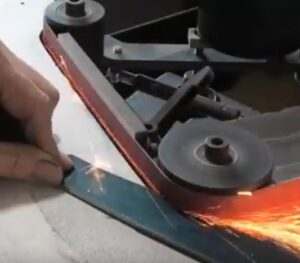
This is a simple process and each knife-maker has their own variation on how they do it. Most of us cut out a template to mark out the final shape. Then we use the grinder flat on the rest to accurately bring the steel down to the template lines. Some people use an angle grinder to take off the majority of steel, I prefer to use a metal band saw. What you choose as your blade shape is entirely based on your own artistic flair. I’d say, be bold and do whatever takes your fancy (within reason).
Rough Grinding the Bevels.
This part of the process is arguably the hardest element to master and the most important. I could probably create a post solely dedicated to bevel grinding. However, for this post I’ll abbreviate the process.
Again, knife-makers have their own proffered process and they range from the pure skill of hand grinding to all kinds of fancy jigs to create ‘the perfect bevels’. I have created four different jigs in an attempt to make things perfect and repeatable. You can see me using two of them on my YouTube channel. As long as you follow basic bevel grinding principles there is no right or wrong way to do it. That being said you need to make sure you are doing it safely. Before you start grinding it’s advisable to mark a line down the center of where the final cutting edge will be. This will help keep the bevels the same on both sides. As a rule the grinding is done by placing the spine on the rest with the edge uppermost so you can see the center line as the grinding starts to remove steel. You start by removing steel at the cutting edge at a fairly steep angle and slowly working your way down the where the grind lines are fairly close to where they will end up. You’ll need to keep checking the progress of the grind as you go. It does take quite a lot of practice to get it right, it could take months and in the end years to really perfect it to within 1/1000 mm.
Heat Treatment.
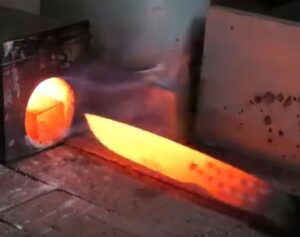
So now the blade has been shaped and bevels rough ground close to the final grind lines, now it’s time to heat treat it. Process includes:
- Normalizing
- Bringing the steel up to temperature
- Quenching
- Tempering
Weather the blade has been forged or made from high carbon steel it need ‘normalizing’. This is a process where the steel is heated 2 or 3 times to 875 C (1607 F) and letting air cool to black. What normalizing does is take out any stress that may have built up in the forging process and create a finer grain in the steel. This will produce a better blade steel.
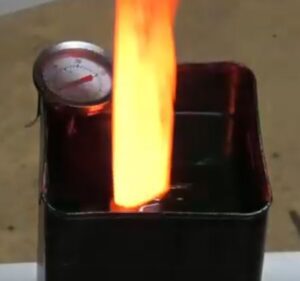
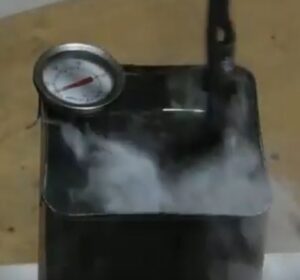
Once normalizing has been done we can get onto the most important aspect, the actual hardening process. Various types of steel have recommended temperatures to reach before quenching can take place. Most steel manufacturers have a guide available for heat treatment and tempering. In theory, if you follow the guide exactly, you will reach the maximum possible blade hardening. Hardening is measured by using the Rockwell Scale. As a rough guide hardened steel for a bush craft knife made from a basic high carbon steel is normally around 58-60 HRC.
If you need to heat treat stainless steel, it’s a whole nother ball game. A lot of hobbyist knife makers send their S/S shaped blades out to a professional heat treating service where they guarantee to get the maximum performance form that piece of steel. To do this though you would need to do, maybe 20 blades at a time to make it worthwhile. I have built my own electric heat treat oven that might just be able to do the job on a stainless blade.
So lets say it’s a piece of high carbon steel like 1084 we would bring it up to 815 C / 1500 F, then quickly quench in a proper quenching oil or if you are on a budget use luke warm Canola oil (oil is 40-60 C / 104 – 140 F)
Temper the blade in an oven (your kitchen oven will work ok for this), do it for 2 hours x 2 at 200 C (390 F). Following this process will give you a good hardness for general purpose kitchen and outdoor knives.
If you are not familiar with the heat treating process the process of hardening and tempering it may seem odd that you make the steel as hard as possible and then bring the hardness back down to something less brittle. This might seem strange but this process is much easier to manage than trying to reach the perfect hardness and toughness in one go. Actually I’ve never seen anyone do it so it might not even be possible to do it it one go!
Finishing the Bevels.
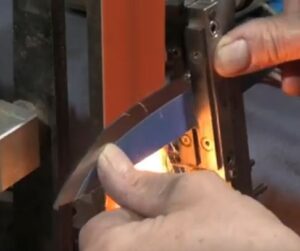
Once the heat treatment has been completed it’s time to clean up the blade and finish grinding the bevels. This is where the craftsman needs to be careful. By continuing to grind the bevels down to their final size it creates a lot of heat, enough heat to ruin the heat treatment you so carefully completed. So as not to ruin the blade we keep a bucket of water next to the grinder so after every 1 to 2 passes on the belt grinder we dip it in water and suck the heat right out of it. Once you have checked the symmetry of the bevels and are happy with them you can get onto sanding the flats down to a shiny finish, be sure to dip the blade even with this process. You can hand sand the flats or use a surface grinder if you have one. Hand sanding takes a bloody long time though!
Choosing & fitting the handle scales.
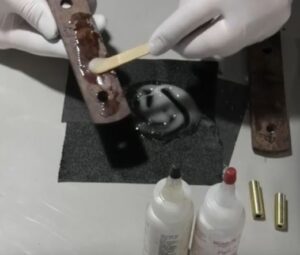
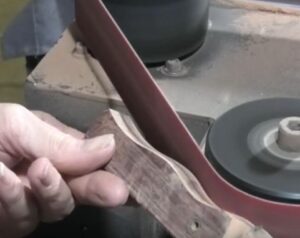
In my view this is where your own design and style come together which is unique to you. There are so many options, actually it’s limitless. It’s so easy to fall into the standard shape and color that you end up with something you can buy from Blade HQ for $50 for example. So after all of your effort and care and hard work put some thought into it, be bold and create something memorable. Personally I like G-10. It’s impervious to water and most chemicals and if it’s fitted correctly it’s very hard wearing. Then there is stabilized wood. A piece of wood that is impregnated with resin to stop it from deteriorating.
The fitting process can be a little tricky as they have to be shaped down to within cooee of the final shape and then glued with a 2 part epoxy and steel pins (sometimes makers use Corby Bolts). Then it needs to be clamped and left overnight to achieve a strong bond. You can see by this picture of me going through the process how messy it could get. Care needs to be taken not to get the epoxy all over the blade. Once the glue has hardened off it’s time to do the final shaping of the handle. This is done by using a finer grit belt and often used on a slack part of the grinder machine so the finish is much softer and smooth, it’s easier to control as well.
Finishing and Polishing.
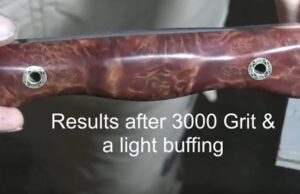
We are nearly there, the scales are on and shaped down their final shape, now they need to be polished. This might be by a buffing machine with finishing compound or perhaps a tongue oil if it’s a wooden handle. Basically we are doing the final touches to make sure any imperfections are taken out. Often in a rush to get this knife finished, this final part of the whole process is not completed properly. I often say, this is what separates the hobbyist from the very, very good hobbyist. The very good ones can sell their creations, no problem.
Sharpening.
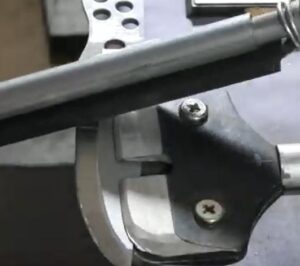
Is it a fancy butter knife you want or something you can dress a deer with? I think it will be the latter.
There are many, many ways to sharpen a knife. On a grinder with a fine grit belt, a Tormek machine, a Wicked Edge system, wheels that fit on your bench grinder, Apex Edge style system, whetstones, diamond stones and the list goes on. Just about all of these systems work really well, some take a bit more getting used to than others but in the end they all work. The problem comes when you try to put an edge on that is too fine for the intended use of the knife, and vice versa. Once again this balance between sharpness, toughness and edge retention comes into play again. So be sure to study what edge geometry you should be using and the final sharpening process that suits your needs. Check out my other post dedicated to sharpening knives.
Final Thoughts.
From my point of view knife-making is a great little hobby. Not the cheapest to get into but can be very rewarding. It’s a constant quest for perfection that almost never achieved. But that’s what keeps us going. For me it’s a balance between Art and Design. Some knives are solid beasts designed for the hardest tasks and some are delicate gentleman’s pocket knives designed for not much more than cutting the skin off an apple.
Check out this nice little fixed blade I came across this week. The Ka-Bar Snody Boss. For little over US$100, it has awesome blade steel CPM S35VN, Stone-wash Drop Point Blade, Leather sheath. Wow, I think I’ll buy one for myself.
As always, happy camping :0)

