So you’ve spent many hours getting this far. You’ve designed, shaped, rough ground the bevels and hardened it. At this point is is a functioning knife….kind of. That is, you could sharpen it, it would take a very keen edge but the first time you cut something hard the edge might chip off or even if you dropped it onto a hard surface it might break in half. This is all assuming that the hardening process was done right. This article explores what the tempering process is how to do it.
What is Tempering?
Easy, right? Hang on a sec. There is a whole lot more goes into it than this. This process has to balance the hardness, toughness, resilience, durability, edge retention, at the same time we need to take out the brittleness achieved during the Hardening Process. If we don’t get it right one or more of these could be compromised.
So what is the correct temperature?
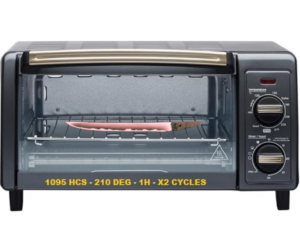
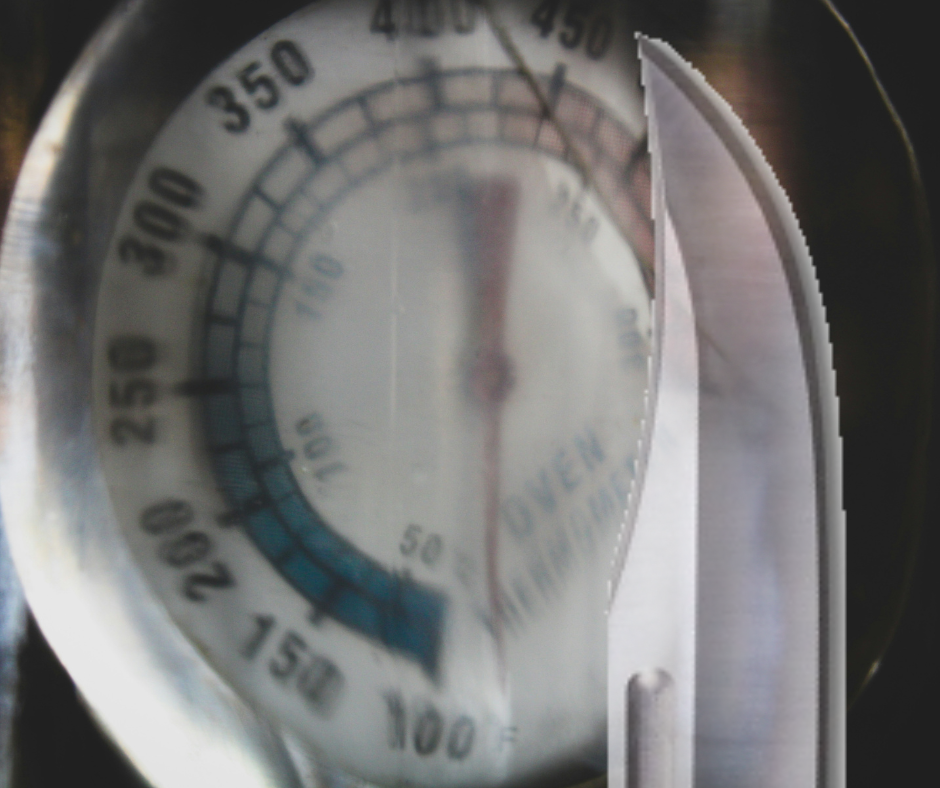
I wish there was a one size fits all Temperature that would be perfect for all types of steel. But there isn’t. For example, I temper 1084 High Carbon Steel at 392°F (200°C) and 1095 High Carbon Steel at 210C (410°F). Temperatures range from 350°F to 600°F (177°C to 316°C). Each and every forge or kiln can vary a bit as they are not all calibrated the same. So there will be some trial and error to determine the exact temperature you will use.

As long as you can maintain a constant temperature even an old toaster oven will work.
Types of Steel.
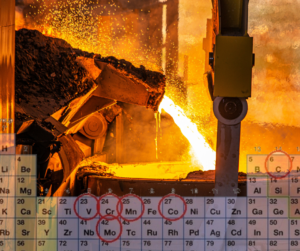
If you are new to knife-making you may not be aware of how may different alloying ellements make up steel that can be hardened. Actually there are dozens which could be used. Here a few of the most common ones:
- Carbon
- Manganese
- Chromium
- Molybdenum
- Vanadium
- Nickel

Remember, all of these different ellements have a particular strength that requires handling in a particular way, the temperature has to be right to bring the best out of it. Carbon is the number one ellement that must be included, without it you don’t have hardenable steel, and that’s the end of it. It’s responsible for the steel gaining so much strength and brittleness. Manganese is known for improving the hardness by reacting with the iron content and keeps the steel a little cleaner with fewer impurities. As you would expext the Chromium content creates a stainless type of steel much more resistant to corrosion. Including Molybdenum and Nickel into the recipe further improves the hardenability at higher temperatures, like you would have to do with stainless steel blades. Vanadium improves the grain structure and plays a part in its final toughness and wear resistance.
Each type of steel has different amounts of each one of these giving it unique properties that need to be heat treated and tempered accordingly. The manufacturer creates the steel and puts the steel through its paces and does extensive testing, testing and more testing. Each manufacturer should have a document available which tells you exactly what temperatures their steel requires to get the most out of it.
People deviate from this a lot trying to get a little more out of the steel than the manufacturer did….really? Well, it’s fun trying I guess, and one particular knife-make might have a unique use for the steel that needs his or her special treatment.
There are other factors that affect the overall performance of the steel. We’ve talked about steel composition and temperature but holding time and the cooling rate also affect it. Holding time is the amount of time the steel is kept at the desired tempering temperature. Normaly we would bring it up to the desired degrees and as soon as it gets there we take it out and then let cool at it’s own rate. What you could do is bring it up to temperature and hold it there for, let’s say 5 minutes, then let it cool down. Or you could hold it at temp for 5 minutes then rapidly cool it down. All of these things affect the end result.
What’s happening on a Micro Level?

As already described the blade comes out of the hardening process very brittle. This makes the steel prone to cracking, chipping or breaking and resilient to things like impact deformation. As the newly hardened blade is brought up to the appropriate temperature it begins to change the crystal structure back to something more manageable in terms of a practical Hardness/Toughness balance.
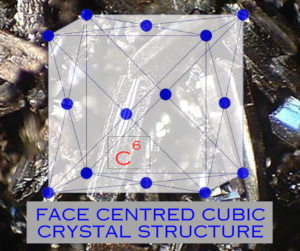
Believe it or not steel is made up of a crystal structure and how the crystals change form will determine the effectiveness of the temper treatment. To get very technical here the steel forms new, more reliable grains and carbon atoms that were in a solid state start to disperse and create smaller, stable carbides. The steel becomes less brittle and tougher which helps stop cracks forming.
Other Tempering Techniques.
- Differential Tempering. This is similar to what you might see a Japanese Swordsmith do when hardening a blade. They coat the blade in varying thicknesses of a kind of clay looking sloppy mud type of mixture. If done correctly with the tempering process it will allow the control of the softer spine and the harder cutting edge.
- Cryogenic Tempering. This involves immersing the blade into a chamber of liquid nitrogen and lowering the temp down to as much as -185°C (-301°F) or even lower if so desired. Then the metal is held at this temp for a specified period of time. This can be hours or a day or two depending on what’s required. Then it’s brought back to life at room temp. All of this hastle is to releive the stress in the steel, creates a harder blade with increased wear resistance and toughness. Usually only high end stainless steels go through this process.
- Double Tempering. Double tempering is just what it says. The blade goes through two consecutive tempering cycles with a dunking in water in between them. This process is just like all the others. The desired outcome is all the improvements we’ve talked about before, resulting in improved wear resistance, toughness and stability.
Conclusion.
As i’ve said before it’s super critical to take this step in the creation of a masterpiece you’ve worked so hard to create. The process should be meticulous, well structured and well organised. It would pay you to keep a record of what you do as each time you do it you learn something, especially in the early days. In short, yes, you can do your own tempering. Yes, it can be very effective. Yes, it’s a bit on the dangerous side so keep yoursleves safe. Wear your PPE so you can live to make another knife another day.
As always, happy camping :0)

